![Gadget Nest[ガジェットネスト]](https://gadget-nest.com/wp-content/uploads/2020/04/21078a5f5469c52d68957d3b3dccccd0.png)
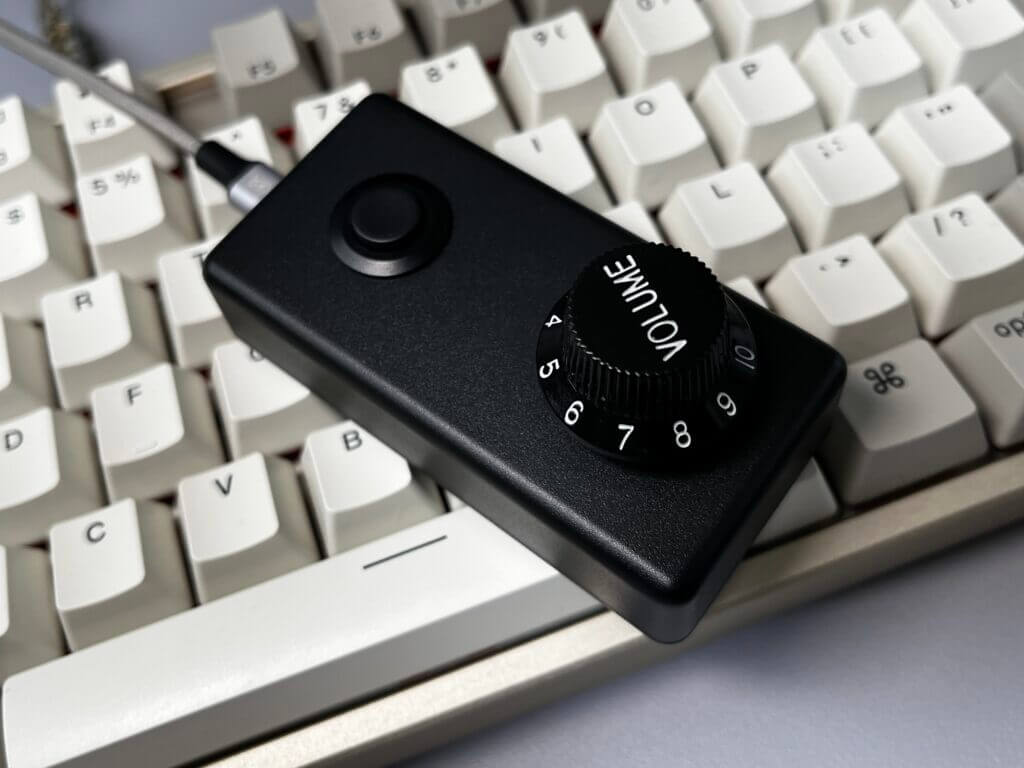
Raspberry Pi Picoを使って自分好みのPC用左手デバイスを自作してみた。
Raspberry Pi Picoとは
「Raspberry Pi」はOSを搭載できる小型コンピュータである。
今回使用した「Raspberry Pi Pico」は他の「Raspberry Pi」シリーズと異なり、OSを搭載することができないため、コンピュータではなく「マイクロコントローラーボード」という呼び方をする。プログラム言語はC/C++、MicroPythonが使用できる。

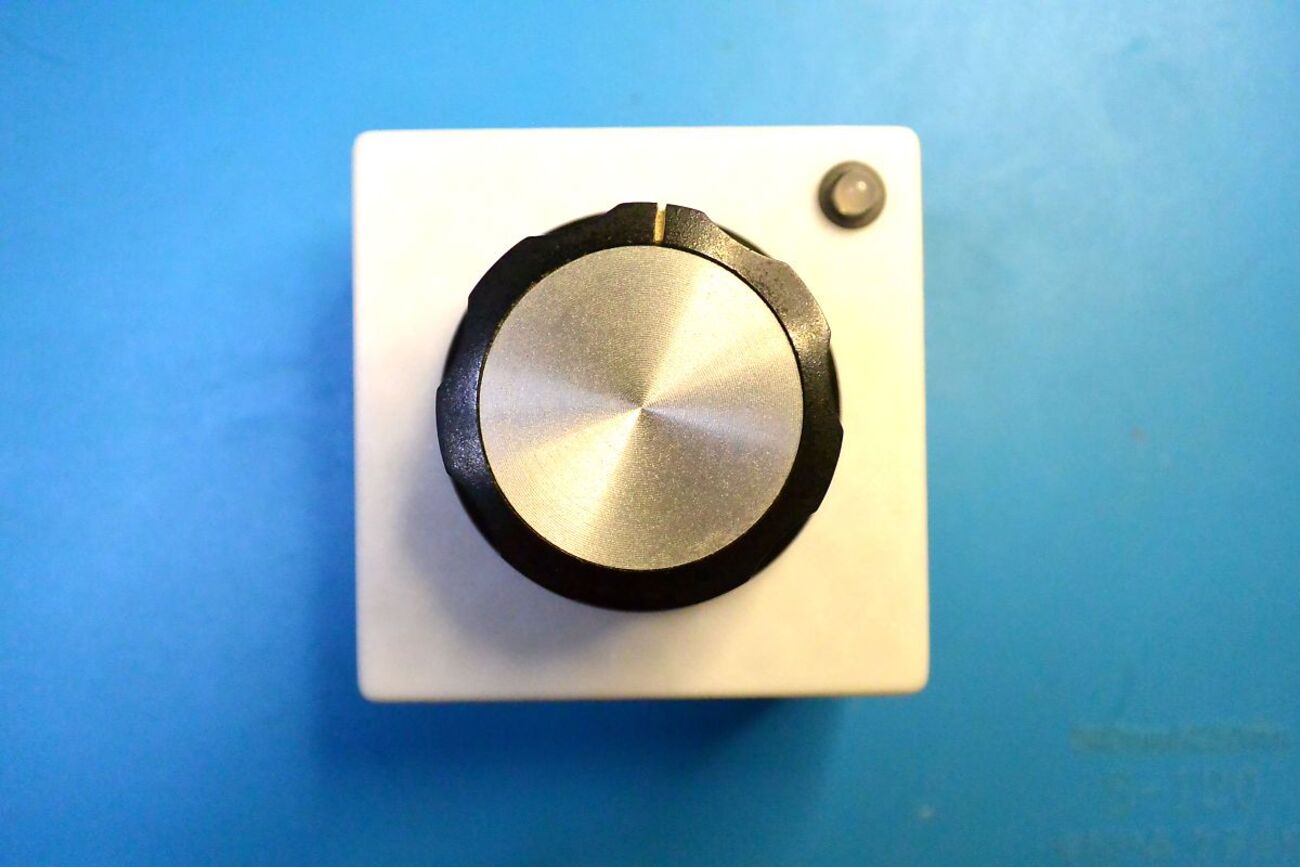
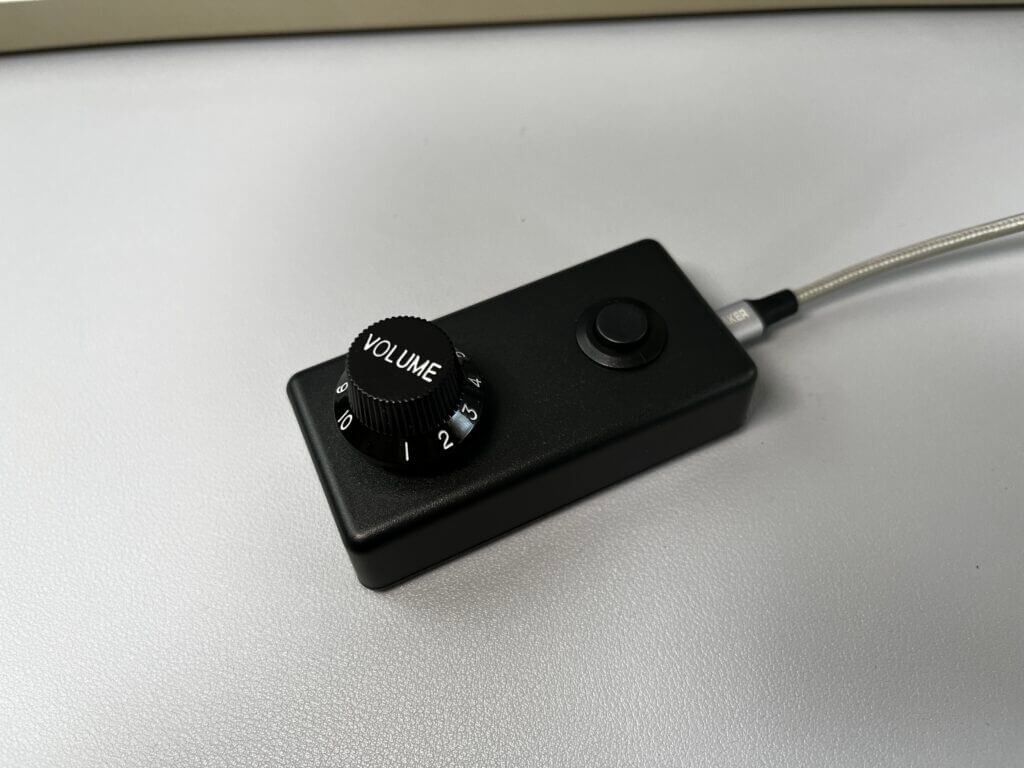
自作した左手デバイスの動作
ボリューム操作・左右スクロール
自作したデバイスの動作は、ダイヤルはボリュームとして使用できる。ボタンを1度押すとボリュームから左右スクロールに切り替わり、ボタンを長押しするとことでパソコンをスリープさせる。
ボタンはいろんな機能を搭載できる
ボタンは長押しすることでスリープさせる機能を搭載させたが、その他にも「任意の文字を入力しエンターを押す」などの機能に割り当てることができる。
これができれば自動でパスワード入力することが可能となるが、なんのためにパスワードを設定しているのか分からなくなる。だけどかなり便利ではある。
Raspberry Pi Picoのプログラム
プログラムの制作にはこちらのサイトを参考にさせていただいた。
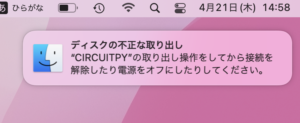
RRaspberry Pi PicoをCircuitPythonで使用すると、PCと接続した際に必ずボリュームとして認識するのが厄介だったため、以下の対処を施している。
ボリューム・左右スクロール・スリープのプログラム
こちらが最終的なプログラムである。
import digitalio
import board
import usb_hid
import time
from adafruit_hid.keyboard import Keyboard
from adafruit_hid.mouse import Mouse
from adafruit_hid.keycode import Keycode
from adafruit_hid.consumer_control import ConsumerControl
from adafruit_hid.consumer_control_code import ConsumerControlCode

print("== Pi Pico multifunction knob 1.0 ==")

CLK_PIN = board.GP4
DT_PIN = board.GP3
SW_PIN = board.GP2
clk_last = None
count = 0
totalMode = 2
currentMode = 0

cc = ConsumerControl(usb_hid.devices)
mouse = Mouse(usb_hid.devices)
keyboard = Keyboard(usb_hid.devices)


clk = digitalio.DigitalInOut(CLK_PIN)
clk.direction = digitalio.Direction.INPUT

dt = digitalio.DigitalInOut(DT_PIN)
dt.direction = digitalio.Direction.INPUT

sw = digitalio.DigitalInOut(SW_PIN)
sw.direction = digitalio.Direction.INPUT
sw.pull = digitalio.Pull.UP

def millis():
    return time.monotonic() * 1000

def ccw():
    print("CCW")

    if (currentMode == 1):    # Volume decrement
        cc.send(ConsumerControlCode.VOLUME_DECREMENT)

    elif(currentMode ==0):    # Mac horizontal scroll right
        keyboard.press(Keycode.SHIFT)
        mouse.move(wheel=-1)
        keyboard.release(Keycode.SHIFT)


def cw():
    print("CW")
    if (currentMode == 1):     # Volume increment
        cc.send(ConsumerControlCode.VOLUME_INCREMENT)

    elif(currentMode ==0):     # Mac horizontal scroll left
        keyboard.press(Keycode.SHIFT)
        mouse.move(wheel=1)
        keyboard.release(Keycode.SHIFT)


def long_press():
    #Mac sleep: CMD + OPT + EJECT
    keyboard.press(Keycode.ALT, Keycode.COMMAND)
    cc.send(ConsumerControlCode.EJECT)
    keyboard.release_all()

while(1):
    clkState = clk.value
    if(clk_last !=  clkState):
        if(dt.value != clkState):
            cw()
        else:
            ccw()

    if (sw.value == 0):
        pressTime = millis()
        time.sleep(0.2)
        longPress = False

        while(sw.value == 0):
            if(millis() - pressTime > 1000 and not longPress):
                print("longPress")
                longPress = True
                long_press()


        if (not longPress):
            currentMode += 1
            currentMode %= totalMode
            print("Mode: " + str(currentMode))

    clk_last = clkState
ボタン長押しでパスワード自動入力にする場合
import digitalio
import board
import usb_hid
import time
from adafruit_hid.keyboard import Keyboard
from adafruit_hid.mouse import Mouse
from adafruit_hid.keycode import Keycode
from adafruit_hid.consumer_control import ConsumerControl
from adafruit_hid.consumer_control_code import ConsumerControlCode

print("== Pi Pico multifunction knob 1.0 ==")

CLK_PIN = board.GP4
DT_PIN = board.GP3
SW_PIN = board.GP2
clk_last = None
count = 0
totalMode = 2
currentMode = 0

cc = ConsumerControl(usb_hid.devices)
mouse = Mouse(usb_hid.devices)
keyboard = Keyboard(usb_hid.devices)


clk = digitalio.DigitalInOut(CLK_PIN)
clk.direction = digitalio.Direction.INPUT

dt = digitalio.DigitalInOut(DT_PIN)
dt.direction = digitalio.Direction.INPUT

sw = digitalio.DigitalInOut(SW_PIN)
sw.direction = digitalio.Direction.INPUT
sw.pull = digitalio.Pull.UP

def millis():
    return time.monotonic() * 1000

def ccw():
    print("CCW")

    if (currentMode == 1):    # Volume decrement
        cc.send(ConsumerControlCode.VOLUME_DECREMENT)

    elif(currentMode ==0):    # Mac horizontal scroll right
        keyboard.press(Keycode.SHIFT)
        mouse.move(wheel=-1)
        keyboard.release(Keycode.SHIFT)


def cw():
    print("CW")
    if (currentMode == 1):     # Volume increment
        cc.send(ConsumerControlCode.VOLUME_INCREMENT)

    elif(currentMode ==0):     # Mac horizontal scroll left
        keyboard.press(Keycode.SHIFT)
        mouse.move(wheel=1)
        keyboard.release(Keycode.SHIFT)


def long_press():
        keyboard.send(Keycode.A)
        keyboard.send(Keycode.B)
        keyboard.send(Keycode.C)
        keyboard.send(Keycode.D)
        keyboard.send(Keycode.E)
        keyboard.send(Keycode.F)
        keyboard.send(Keycode.G)
        keyboard.send(Keycode.ENTER)

while(1):
    clkState = clk.value
    if(clk_last !=  clkState):
        if(dt.value != clkState):
            cw()
        else:
            ccw()

    if (sw.value == 0):
        pressTime = millis()
        time.sleep(0.2)
        longPress = False

        while(sw.value == 0):
            if(millis() - pressTime > 1000 and not longPress):
                print("longPress")
                longPress = True
                long_press()


        if (not longPress):
            currentMode += 1
            currentMode %= totalMode
            print("Mode: " + str(currentMode))

    clk_last = clkState
パスワードを入力するためのコードを任意の文字に変更する必要があるので注意。このコードでは「abcdefg」と入力されるようになっている。
デバイス自作の手順
使用した材料
使用する材料は以下になる。
- Raspberry Pi Pico
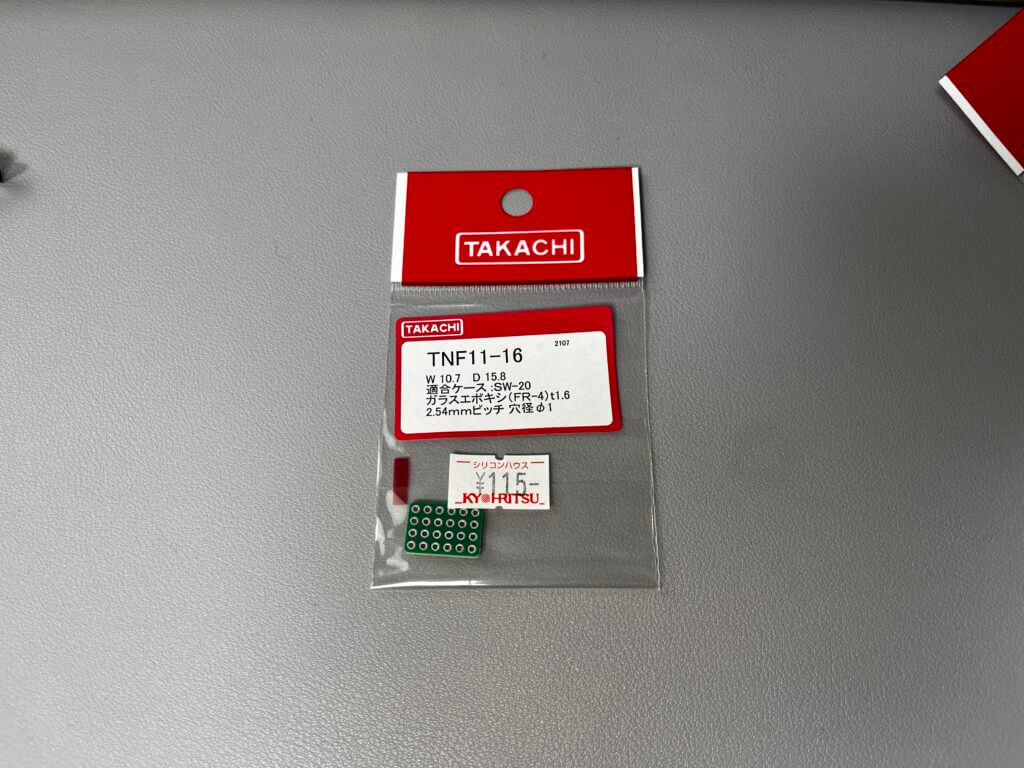
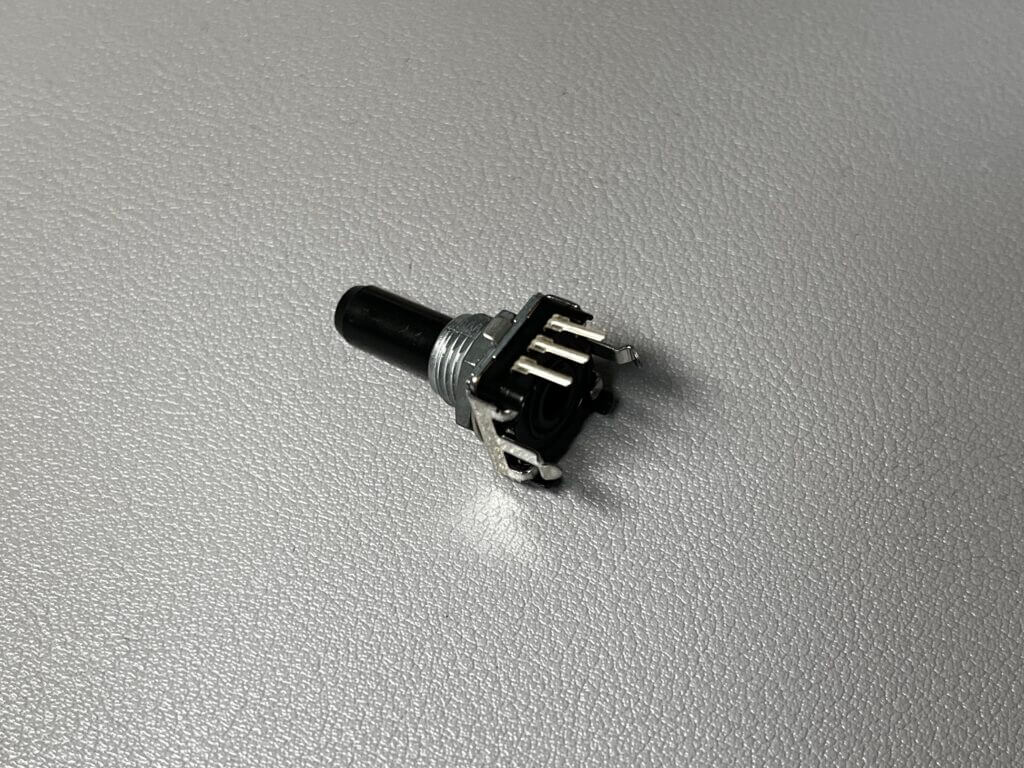
- ロータリーエンコーダ
- 1kΩ抵抗2つ
- 適当な基板
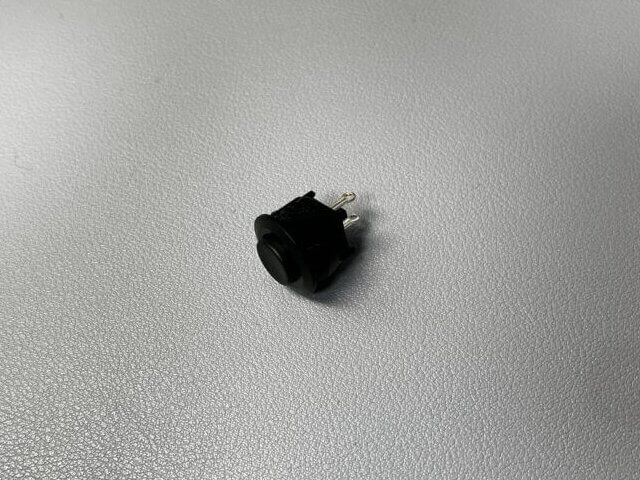
- モーメンタリスイッチ
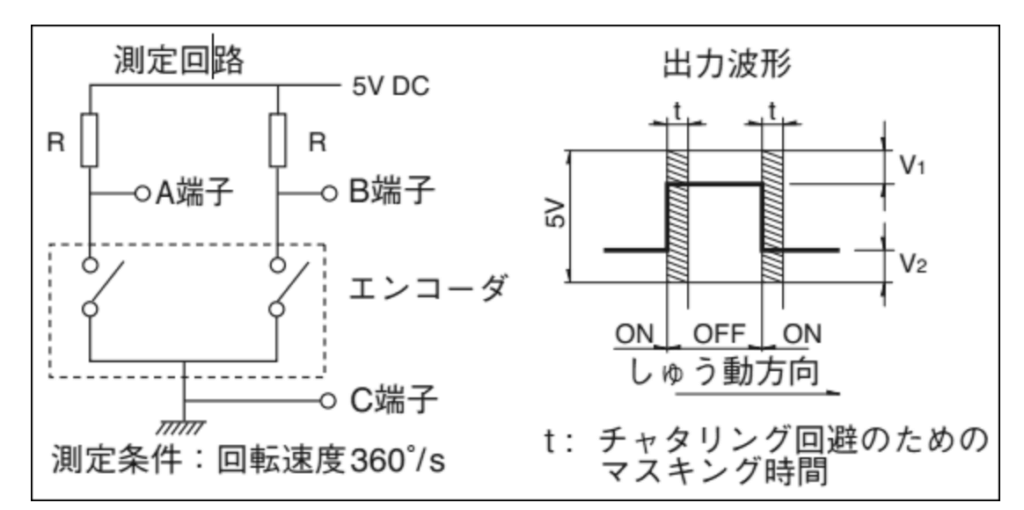
ロータリーエンコーダを実装する場合、下図のような回路を組む必要がある。そのために抵抗と基板が必要となる。
しかし、基板が実装されているロータリーエンコーダモジュールという製品もあり、面倒であればそちらを準備する方が良いだろう。こちらの商品はスイッチ付でもあるため、スイッチの購入も必要なくなる。

Raspberry Pi Picoの配線
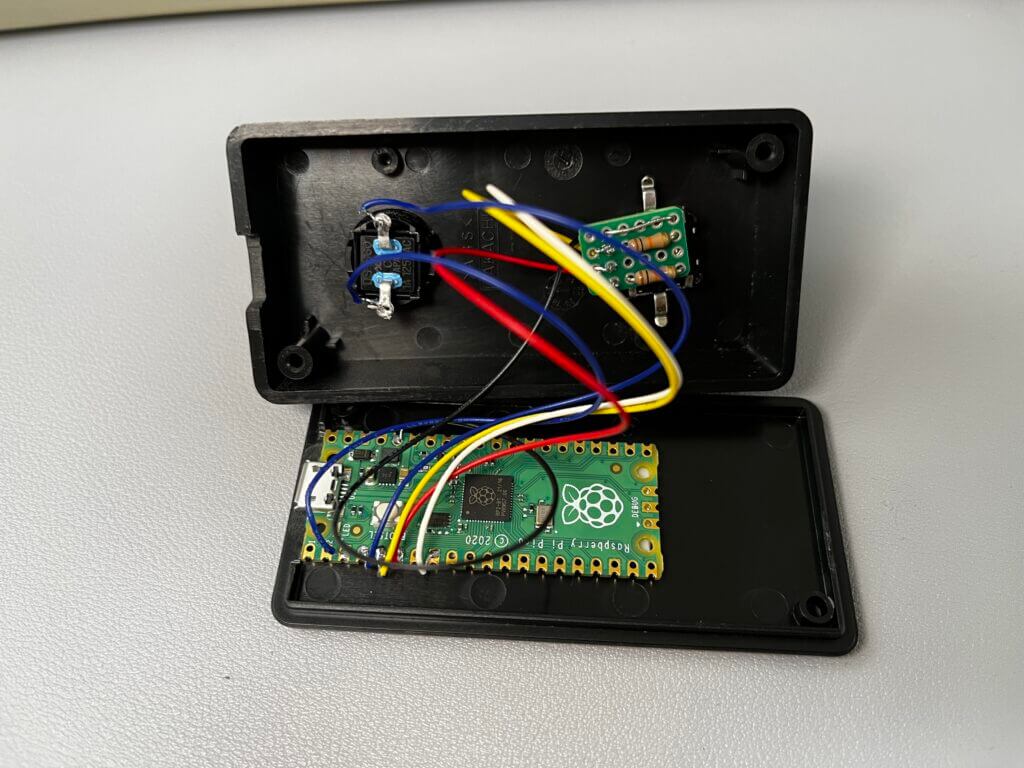
モーメンタリスイッチはGP2とGNDに接続する。
ロータリーエンコーダは+は3V out、残る端子はGP3、GP4に接続する。ロータリーエンコーダの回す方向と動作が逆であれば、GP3とGP4の端子を逆転させる。
さいごに
ボタンの有無は好みではあるが、前述のとおりロータリーエンコーダモジュールを使用すればスイッチが省略でき、よりミニマムのデザインになったはずだ。
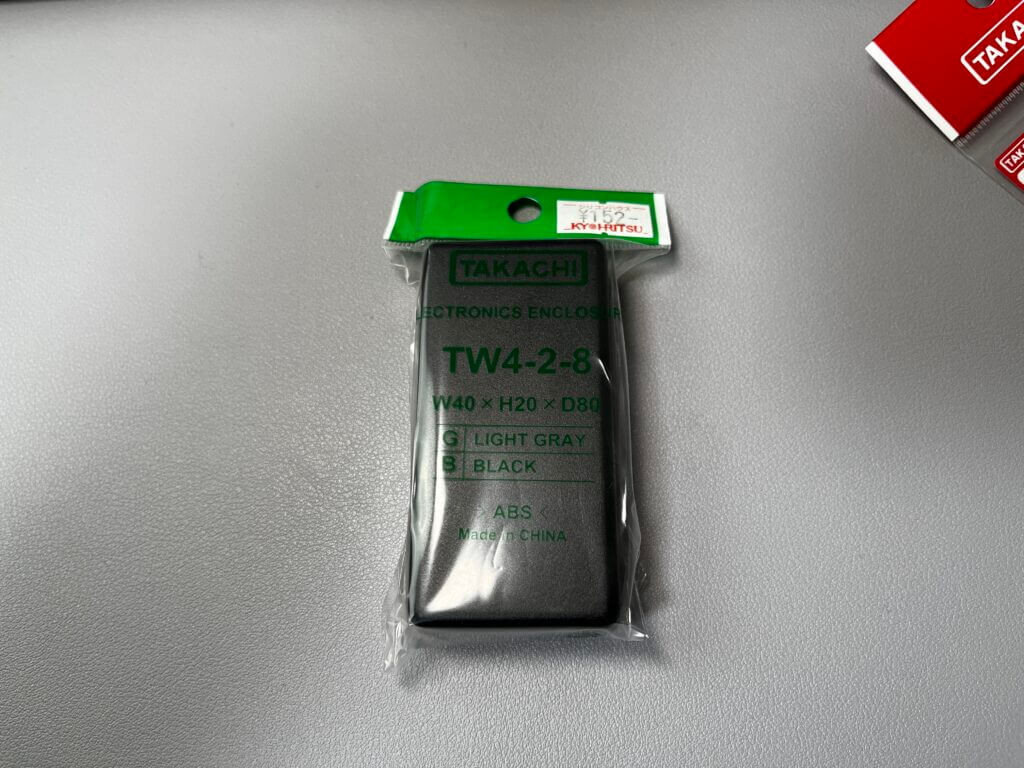
そして個人的に一番残念なのは、Raspberry Pi PicoがMicroUSBである点だ。TypeCの選択肢もあれば良かった。